Installation Guide

Our panels are designed to install cleanly and without surprises. Below is everything you need to know before your first panel goes up — from framing your wall to the last T-bolt.

  1. 1 Frame Your Wall
  2. 2 Gather Your Hardware
  3. 3 Mount Your Panels

Step 1 — Frame Your Wall

Your frame is what the panels attach to. Before buying panels, build or confirm your frame is ready:

  • Stud spacing: Use 2x6 or 2x8 lumber for studs. Space them no more than 16" apart for a vertical wall, or 12" apart for steep overhangs (30°+). Our 40"x40" panels align cleanly with standard 16" spacing.
  • Wall angle: Panels can be mounted at any angle — vertical (0°), slab, or overhanging up to 45°+. The steeper the wall, the stronger the frame needs to be. For overhangs beyond 30°, brace the frame from the floor or ceiling.
  • Frame depth: Make sure your framing is deep enough to allow the T-bolt to sit flush. Standard 2x4 or 2x6 framing works for vertical walls. For angled walls, account for the load direction.
  • Attach to structure: Anchor your frame to wall studs, ceiling joists, or concrete depending on your setup. Do not attach only to drywall.

Step 2 — Gather Your Hardware

You will need the following hardware to mount your panels and set holds:
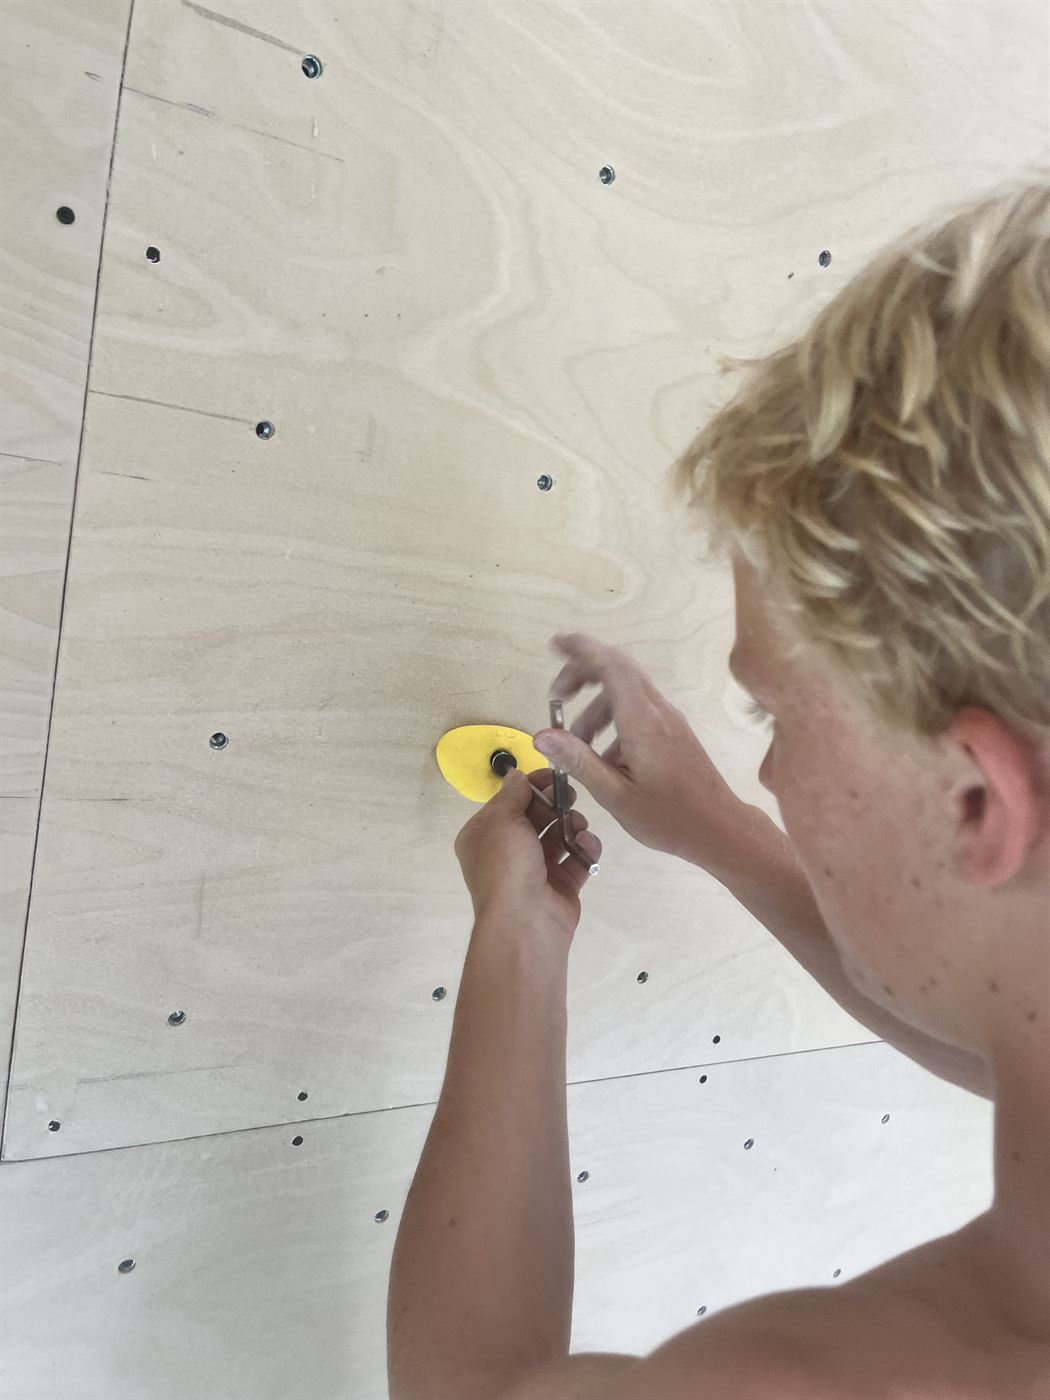
  • 3/8" T-nuts — Already installed in your panels. Each hole is pre-drilled and fitted for standard 3/8" T-bolts used by virtually all climbing hold manufacturers.
  • 3/8" T-bolts — To attach your holds. Not included with panels — available at any climbing gear retailer. Buy one per hold position you plan to set.
  • Wood screws or lag bolts — To attach panels to your frame. Use 2.5" to 3" structural screws spaced every 8–12" along each stud contact point. Countersink slightly so screw heads sit flush.
  • Drill and bits — Standard drill for driving screws. A 3/8" hex driver speeds up T-bolt installation significantly.
  • Level — Essential for keeping panels aligned, especially on the first row.
  • Tape measure and pencil — For marking stud locations on the back of panels before mounting.
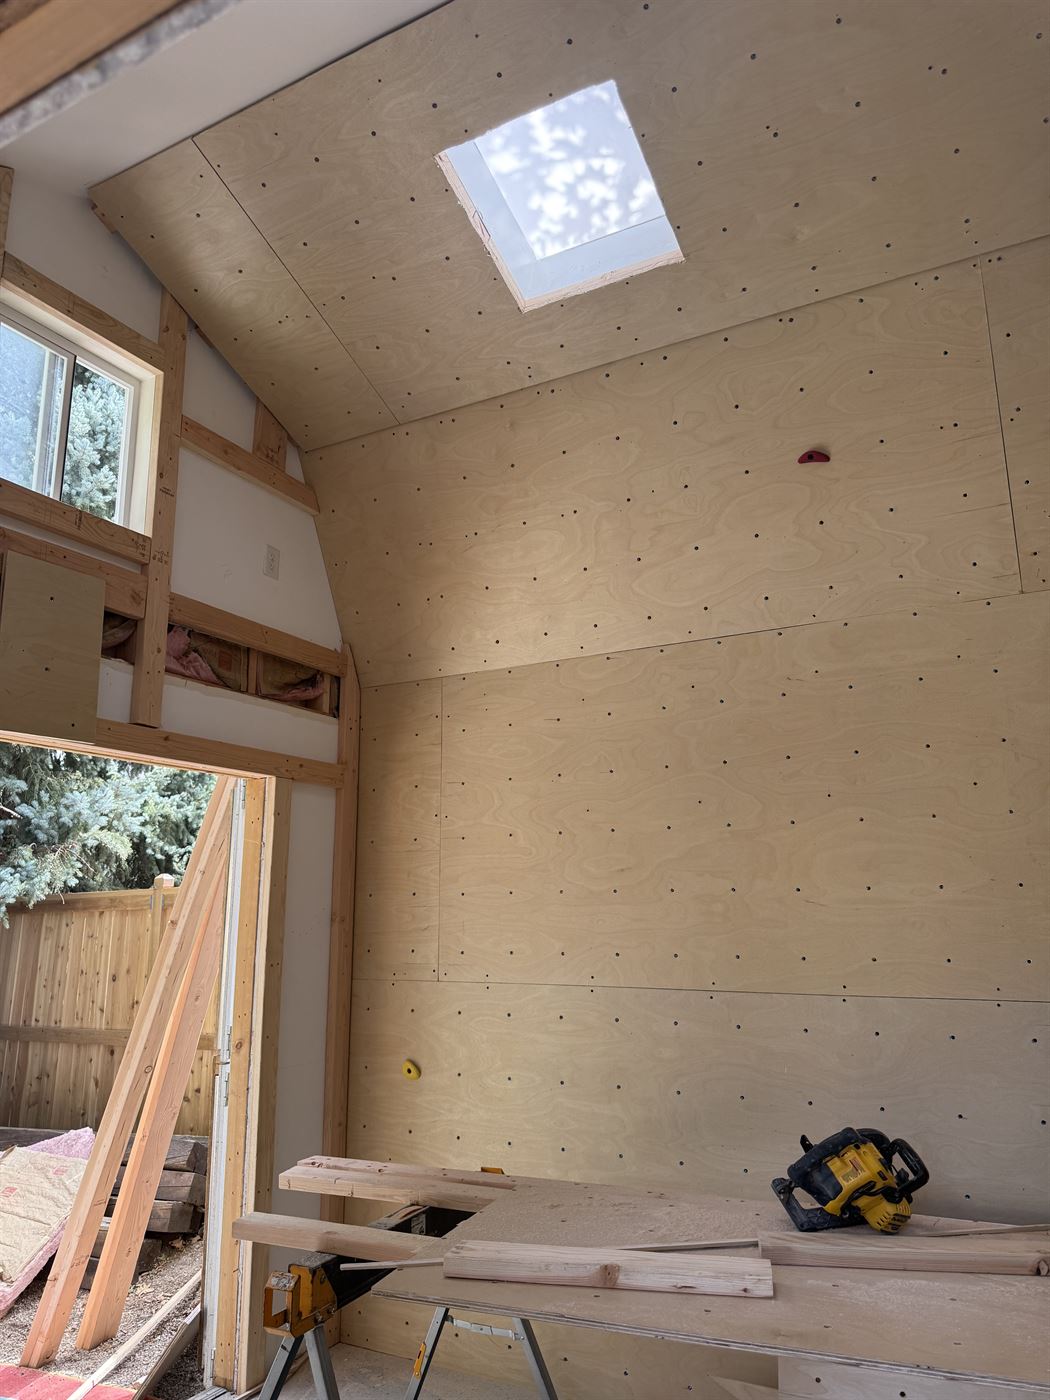
Climbing wall panels installed in a shed, showing plywood boards with T-nut holes on walls and angled ceilingPerson screwing a yellow climbing hold into a panel T-nut

Step 3 — Mount Your Panels

With your frame ready and hardware on hand, panels go up quickly:

  1. Start from the bottom: Begin at the lowest row and work upward. A bottom panel resting on the floor (or a ledger board) is easier to hold in place while driving screws.
  2. Mark your studs: Before lifting the panel into place, mark where the studs hit the back of the panel so you know exactly where to drive screws.
  3. Check level before screwing: Hold the panel against the frame and confirm it's level. A small adjustment now prevents a cascading misalignment across the whole wall.
  4. Drive screws along every stud contact: Space screws every 8–12" along each stud. Do not skip contact points — consistent fastening distributes load evenly.
  5. Butt panels tightly: Panel edges should meet cleanly with no gap. Our panels are cut to consistent 40"x40" dimensions so seams stay tight without shimming.
  6. Install T-bolts before you can't reach them: If you're stacking panels, insert T-bolts into upper rows before the row above is in place. Once panels are up and adjacent, some holes become hard to access from behind.

Frequently Asked Questions

Do I need to build a separate frame, or can I attach panels directly to my wall?
You need a frame. Panels should attach to structural lumber, not drywall. If your garage or basement has exposed studs at 16" spacing, you may be able to attach directly — but check that the studs are oriented correctly for your wall angle.

What angle can I set the wall at?
Any angle — vertical, slab, or overhang. Most home builders start with vertical or a slight overhang (10–20°). Steeper angles require stronger framing and more robust anchoring to the structure.

What holds work with your panels?
All of them. Our T-nut holes are standard 3/8" — the same spec used by every major hold manufacturer. Any holds you already own will fit.

Can I cut panels to fit an odd wall size?
Yes. The panels are solid birch plywood and can be cut with a circular saw or track saw.

Do I need to do anything to the surface before climbing?
No. Panels ship with a clear polyurethane finish already applied. The surface is ready to climb as soon as your holds are on.

Still Have Questions?

If your build has specific requirements or you're not sure where to start, reach out before you order. We're happy to help you plan the right setup for your space.